
User interface
Contents
To simplify and efficiently work with analytical data and to trade, the OptionWorkshop interface contains multiple child windows, which can be customized by adding the necessary forms and changing their location and size. The figure below shows an example of the main application form.

Interface settings are saved on the computer, so each time the program loads the most recent window settings.
UI elements
User interface consists of the following elements:

- Main toolbar – provides access to the main analytical and trading functions (the buttons are described in Table 1)
- Workspace – is used to place forms
- Information panel – displays information about data and Data source status connection (see Status bar)
- System panel – contains buttons of interaction with support (see Technical support)
Main toolbar
Table 1 presents a description of the main toolbar.
Table 1 – Buttons on the main toolbar
| Button | Documentation | Description |
|---|---|---|

|
Instruments tree | Instruments tree |

|
Positions manager | Work with trading accounts, strategies, positions |

|
What-if scenarios | Create and edit What-If scenarios |
| Strategy templates | Create custom options spread templates. | |

|
Instruments Board | View detailed information about instruments |

|
Orders manager | Place, edit, and track order execution |

|
Delta hedger | Work with Delta hedger |

|
Market maker | Work with Market maker |

|
Futures Orders Stairs (FOS) | Work with Futures Orders Stairs (FOS) |

|
Settings | Designate application settings |

|
System log | View log events |

|
System information | View information about the license and the program version |

|
Documentation site | Open the documentation site |
Status bar
To monitor the data source connection status, OptionWorkshop contains indicators located in the status bar in the bottom of the OptionWorkshop window.

| Icon | Description |
|---|---|

|
Click to open the Log form |
| Click to open the Transport control form. | |
| Data source name | Shows the name of the currently active data source |

|
Blinks when a transaction is sent to the data source |

|
Blinks when data is received from the data source |

|
Indicates there is no connection to the data source |

|
Indicates connection to data source is being established |

|
Indicates the data source is connected |

|
Indicates error state, unknown state |
Transport control

| Button | Action |
|---|---|
| Click to stop the transport | |
| Click to start the transport | |
| Restart all | Click to restart all the transports |
Forms placement
To display information in the most useful way, OptionWorkshop allows you to customize how forms appear on the screen. To move forms:
Click-and-hold on the desired form’s title.
Move the mouse cursor to the icon locations.

The icon displays the desired location to place the form [1].

Part of the window, which will take the form, will turn yellow [2].
Release the mouse button. The form will be fixed in the appropriate position.
Icons description and examples of forms arrangement are presented in Table 3 – Icons description.
Table 3 – Icons description
| Button | Description | Example |
|---|---|---|

|
Place form on an entire working area | 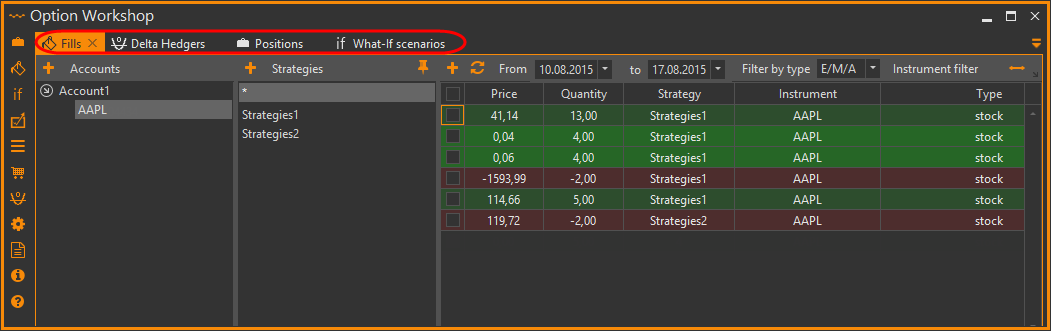
|
 /
/ 
|
Place form on the left/right part of the window | 
|
 /
/ 
|
Place form on the top/bottom part of the window | 
|
 /
/ 
|
Аlign forms side-by-side in the workspace | 
|
 /
/ 
|
Аlign forms top-to-bottom in the workspace | 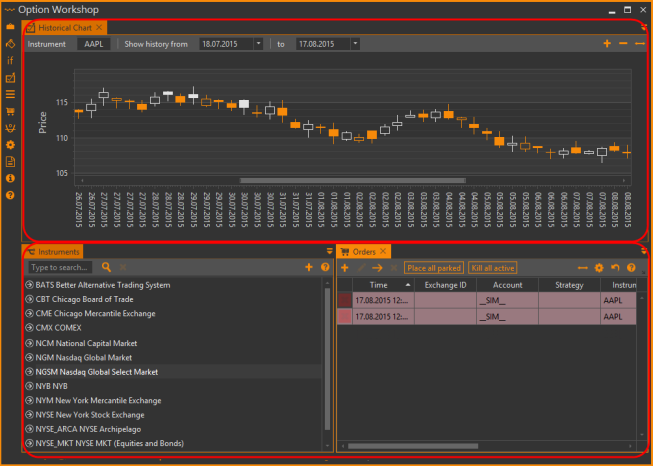
|
Each child window may be undocked from the main window and placed anywhere on your screen. OptionWorkshop also works well in multi-monitor configurations.

Many child windows have special buttons  on their toolbars.
Click this button to get contextual help.
on their toolbars.
Click this button to get contextual help.
Saving interface settings
To save interface settings (location and size):
Open the Settings window by clicking the
 button on the toolbar.
Open the Support tab and click the Open configuration folder button.

Сreate a backup copy of all files of the
%LOCALAPPDATA%\OptionWorkshopfolder (except the logs folder).
To reset the interface settings remove the layout.xml file in the ui folder, restart the program and reconfigure the workspace.

Interface control
For easy navigation in the Active windows selection window (opened by pressing Ctrl+Tab), forms are grouped by type:
- Strategy charts;
- Option desks;
- Spread desks;
- Other windows.

To quickly switch between windows in OptionWorkshop use the arrows on your keyboard.
