
Instruments Board
Contents
The Instruments Board allows you to simultaneously view the market and static parameters of different instruments.
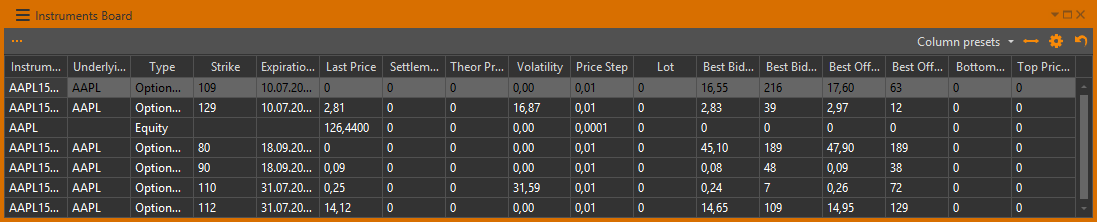
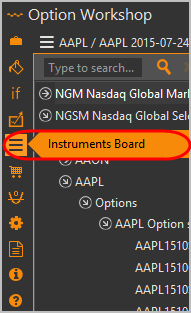
To open the form, click the Instruments Board button on the application toolbar.
The table contains the following columns:
- Instrument – the code of the trading instrument
- Underlying – underlying asset
- Type – the instrument type
- Strike – the options strike price
- Expiration – the instrument's expiration date
- Last price – the current instrument's price
- Settlement – the settlement price
- Theor Price – the theor. price
- Volatility
- Price Step – the step of price changes
- Lot – the lot size
- Best Bid Price
- Best Bid Quantity
- Best Offer Price
- Best Offer Quantity
- Bottom Price Limit
- Top Price Limit
If the instrument's price changes, the background color of the row will become red for a decrease and green for an increase. Right-clicking on the instrument will open a context menu with the following commands:
 – view an order book (see Order book)
 – place
orders (see Orders manager)
– place
orders (see Orders manager) – view the Historical chart (see Historical chart)
 – add the financial instrument
to the Instruments Board (see Instruments Board)
– add the financial instrument
to the Instruments Board (see Instruments Board) – locate the instrument
in the Instruments tree (see Instruments tree)
– locate the instrument
in the Instruments tree (see Instruments tree)
Adding instruments
Via the Instruments tree
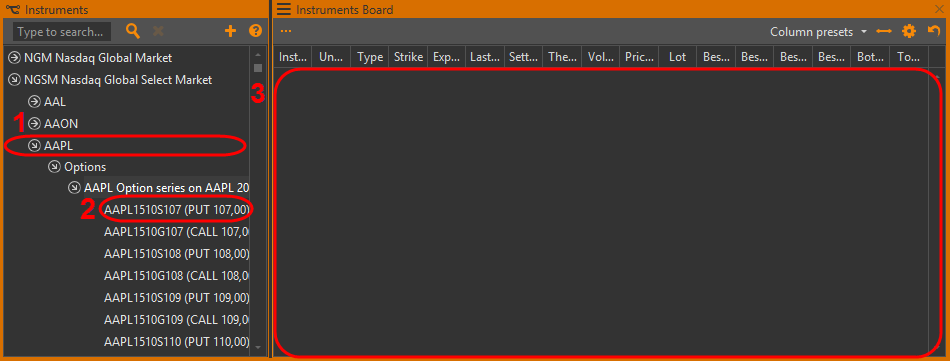
You can add instruments by using drag-and-drop. Right-click-and-hold an instrument from the Instruments tree ([1] and [2]) and then drag-and-drop it onto the Instruments Board form [3].
Via the context menu
To add an instrument via the context menu, right-click on the instrument and select the Add to instrument board command.
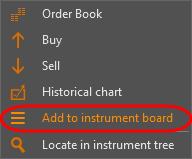
The form with the selected instrument will be open.
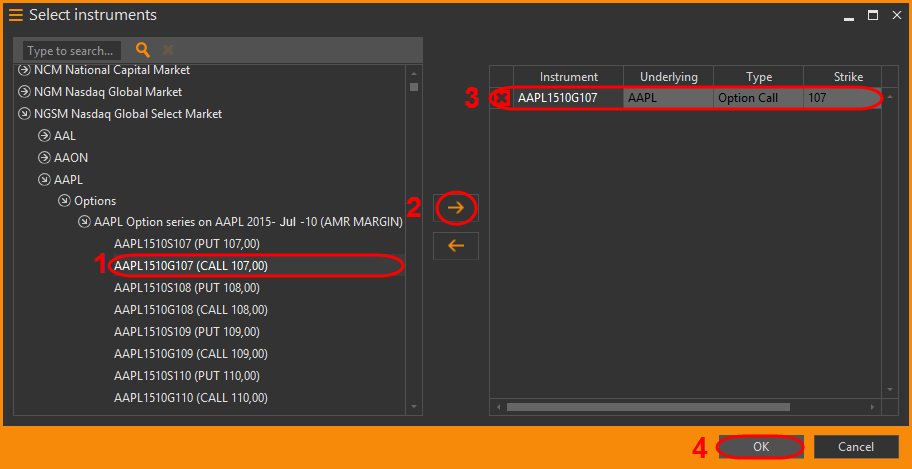
Via Select instruments form
You can add the instrument via the Select instruments form that opens by clicking the  button in the top left corner
of the Instruments Board form.
Choose the underlying asset/option [1] and click Add instrument button [2].
button in the top left corner
of the Instruments Board form.
Choose the underlying asset/option [1] and click Add instrument button [2].
To easily find an instrument, enter its code in the Type to search field, then press Enteron the keyboard.
The selected instrument will appear in the right part of the form [3]. Click the OK button to save the changes [4].
You can delete the instrument by clicking the  button
or the
button
or the  button.
Table settings
The buttons for working with table are located on the top panel. To collapse/expand the panel click
the  /
/
 buttons.
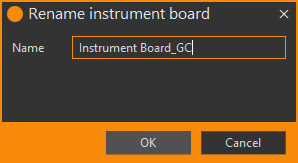
Changing names
To change the table name you should click the  button, in the opened window enter the name and press the OK button.
Display columns
To choose which columns to display:
Click the
 button to open the following dialog box.
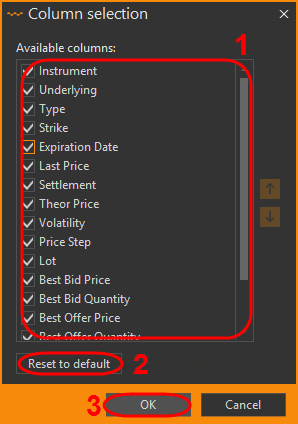
Select the checkboxes to specify which columns you wish to see on the option desk [1].
Click the OK button to apply the changes [3].
To reorder the columns:
- Click-and-hold the left mouse button on the column to be moved.
- Drag the column to the desired location.
- Release the mouse button to drop the column in its new place.
You can also use the  and
and  buttons in the Column selection window.
To return to the default column order, click the Reset to default button [2].
buttons in the Column selection window.
To return to the default column order, click the Reset to default button [2].
Additionally, you can use a predefined set of columns. To do this, click the Column presets button and select an option:
- All columns – display all available columns; or
- Best bid/offer – display columns with information about the best bids/offers.
Automatic alignment
To adjust the columns' width to fit the window size, click the  button.
If you want to return to the default settings, click the
button.
If you want to return to the default settings, click the  button.
